These days, as more and more time is spent online, the importance of the browser cannot be overstated. It’s that increase in use that has helped the Chromebook, Google’s Chrome-based operating system, significantly rise in popularity. Opening up a new Chromebook can be incredibly exciting, and thanks to the intuitive nature of ChromeOS, it’s very easy to learn. Like any personal computer, organizing the Chromebook and making it your own should be one of the first things you do. Let’s take a look a how you should organize your Chromebook, whether it’s brand new or has been one of your favorite work tools for years.
Open Apps in Separate Windows
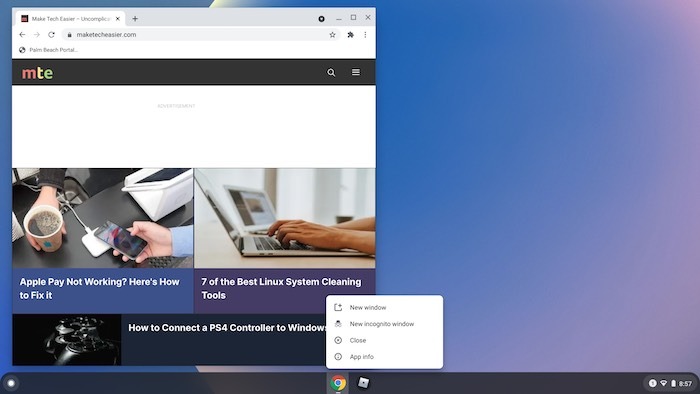
Unlike Windows or Mac computers where you are used to working with multiple windows, Chromebooks and ChromeOS are focused solely on the browser. Having multiple windows open can make it easy to multitask and help you stay focused. Fortunately, opening up multiple windows in ChromeOS is as easy as finding your desired app in the App Launcher or Taskbar, right-clicking on it and selecting “Open as Window.”
Organize the App Drawer
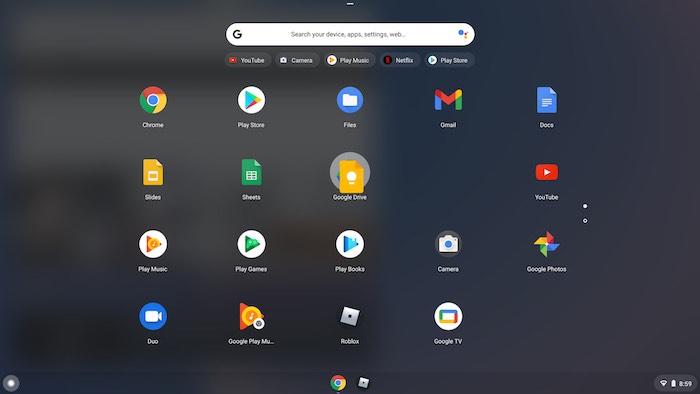
As you get more familiar with your Chromebook, there is a good chance you will begin to download apps from Chrome or Android apps. As you do so, the App Launcher can quickly start to feel overwhelming with multiple pages. Organizing the App Launcher is easy to take care of. Start by opening App Launcher and clicking on “All Apps.” Once you do, start dragging apps onto another app icon to start a folder. You can drag as many as you want.
Tweak the Chrome Shelf
Similar to the Windows Start Bar or macOS dock, ChromeOS has a bunch of icons available as shortcuts to help you quickly access your favorite apps. First, start by moving this shelf from the bottom of the screen to either the left or right edge. Do this by right-clicking on the shelf, selecting “Shelf position” from the pop-up menu and choosing the appropriate position.
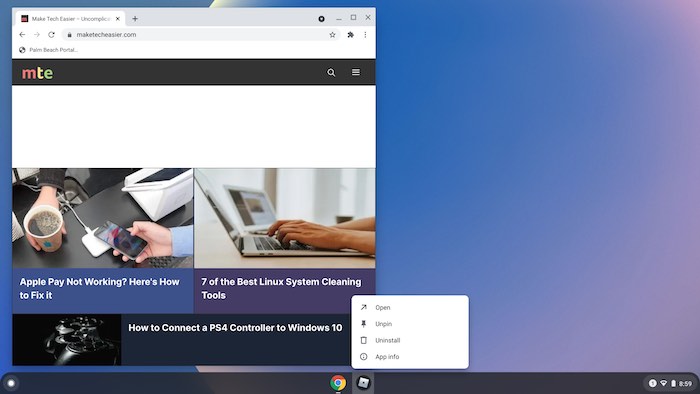
If there are icons on the shelf you don’t want, removing them is as easy as right-clicking on them and selecting “unpin.” To add icons to the shelf as pins, open App Launcher and locate the app you want to pin. Right-click on the app by pressing and holding the “Alt” button with your finger and a single mouse click or by using two fingers on the touchpad. Whichever method you choose, select the “Pin to Shelf” option on the pop-up menu.
Turn Websites into Apps
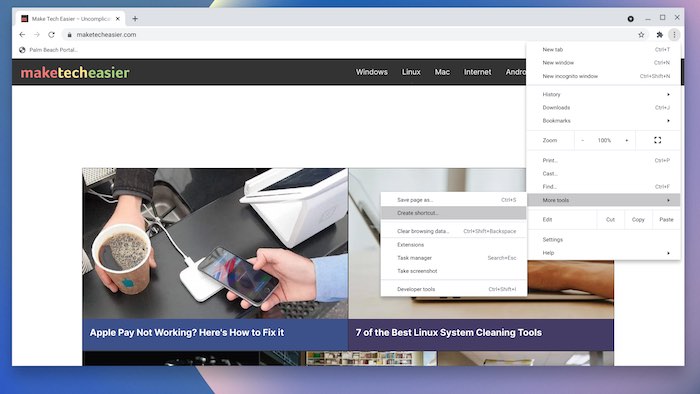
As Chromebook “apps” are mostly just websites masquerading as apps, it’s easy to add more. Just about any website visible in Chrome can be turned into an app and then run in a separate window. To do that, open the website you want to use and look for the three-dot button at the top right of the screen. Click on that and locate More Tools > Create Shortcut. You can now name the app and check off “Open as window.” Finally, click on “Add.”
Download More Apps
There are two options for downloading apps on Chromebooks, and they are each different in a big way. The first is to download directly from the Chrome Web Store where you can find apps made specifically for Chrome and Chrome OS. To do that, open the Chrome Web Store and search for Apps or Extensions on the left side. Browse around and when you locate an app you’d like, click on “Add to Chrome.” New extensions will appear in your browser after requesting permission, and any new apps will appear in the App Launcher.
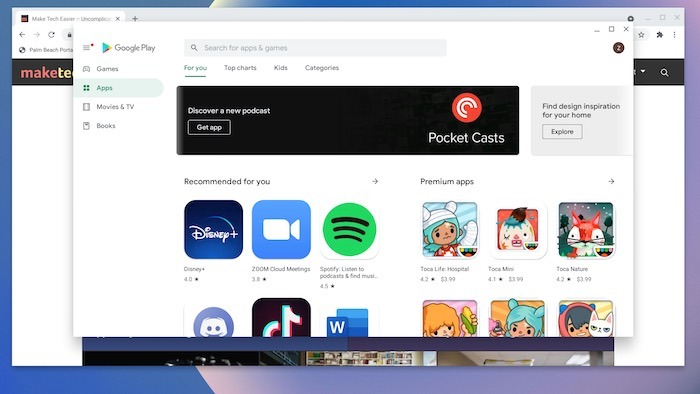
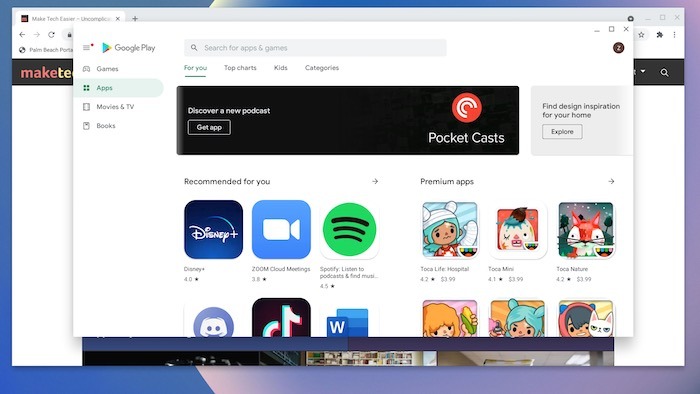
The second method is only available for more recent Chromebooks but is perhaps the best aspect of using ChromeOS. Incorporating Android apps from Google’s Play Store can not only help your productivity levels soar but also allow for some additional organization. On your Chromebook, open the App Launcher and locate the Play Store. For the best experience, click on the time on your ChromeOS shelf before you go into the Play Store. Select Settings > Google Play Store > Install apps and games from Google Play on your Chromebook. Turn this on. You can now download apps from the Play Store. Note that not all Android apps will work.
Using Google Drive
As an operating system that exists mostly in the cloud, it’s unsurprising that Chromebooks often come with less hard drive space than Windows or macOS machines. Given that, there is more of a reliance on cloud services for additional storage, specifically Google Drive. One of the best ways to immediately get organized is to switch your downloads folder to Google Drive so you do not fill up your hard drive.
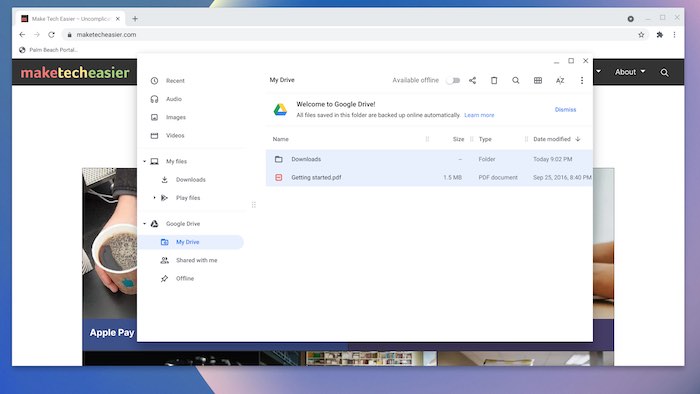
Start by creating a folder in your Google Drive for downloads by going to drive.google.com in your browser or through the file manager and add a new folder. Once this is done, open _ the browser again and go into the Chrome menu. Once you are in the Settings menu, head to Advanced > Downloads > Location and select “Change.” Now you should be able to navigate to the new folder you just started in Google Drive via the file manager and select it.
Of course, this method works well beyond Downloads as well. You can make folders for photos, videos, documents, etc. They will all fit into the file structure on the Chromebook and be uploaded to Google Drive. That way you are not only more organized on the computer itself, but everything is backed up to the cloud for safe-keeping.
Final Thoughts
Chromebook and ChromeOS have immense potential that goes well beyond the education space. These computers are perfect for anyone who doesn’t need all of the bells and whistles that comes with Windows 10 or macOS ownership. To get the most out of it productively, organization is a must. For further organization, check out these Chrome extensions.


